Getting Started
Running and exiting the Database
Open and Close Files
Configurations
-
File
Rule of Operation
Font
Folder Alias
Others
Starting and Exiting DittoBitto
Starting DittoBitto
Method 1.
To start Dittobitto, double-click the registered shortcut icon in the window to start. The Desktop shortcut to DittoBitto will be automatically registered on the Windows desktop when you install the program.
Method 1.
- Select [Programs] from the [Start] menu of the window.
- Select [Database], then click [Data Form] (or [Developer Form]).
As the program starts, the following screen appears.
Select Database or form
To exit the program, select [File / Exit] or press <Alt> + <F4>
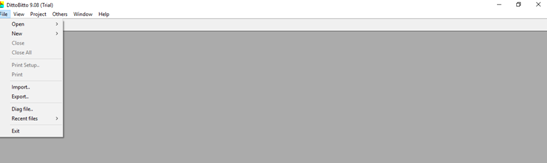
Open and Close Files
Open Files: ![]()
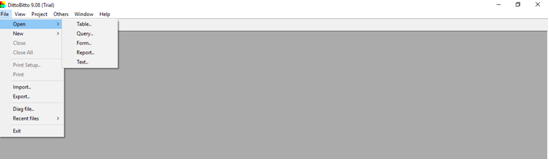
- Select the file menu to open in [Open] of (File) menu. Press the ‘Open’ button.
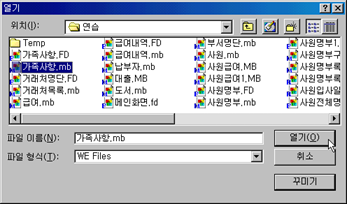
- When the “Open” dialog box appears, move to the folder with the files you want to open or press the “Open” button.
- When the Open file dialog box appears, move to the folder with the Files you want to open.
- Click the name of the File to be selected and click ‘Open’ button.
Select file format: There are five types of Files used in DittoBitto.
Database File (MB): Basic Files to save the data.
Query (MQ): The result of processing data using several background databases
Forms (FD): User-defined input and inquiry data entry screens
Reports (RD): Print-only Files
Text files (WET): Plain text Files
Open & Close DittoBitto under “File” menu
If you have multiple screens open, select the screens you want to close with the mouse.
- Click [Close] on the [File] menu.
- Then Click the ‘Close’ button.
If you want to close several Files on the screen at once, select [Close All] from the (File) menu.
Setting Preferences: In order to make DittoBitto more convenient to use, you have to set frequently used options in advance.
Select [Preferences] from the [Project] menu and define each tab.
Tabs: File – Rules of Operation – Font – Folder Alias – Others
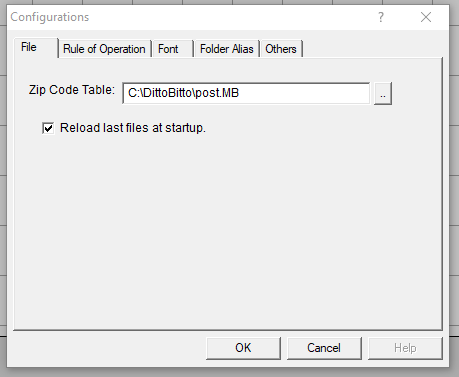
Postal code
DittoBitto provides automatic zip code and address input. For this feature, you should first set the zip code File you want to use in your preferences. When you install ‘towns’, ‘POST.MB’ is provided by default on the main path (‘C: \ WE’ or ‘C: \ WEDEV’).
1) Press the ‘..’ button on the right of the postal code File.
2) When dialog box appears, click ‘post.mb’ File and press ‘Select’ button.
For details on how to use the zip code File, refer to the section on Zip Functions in the Reference Manual.
When you start the program, DittoBitto will open the Files you used last if you closed DittoBitto without closing the Files first. So the Files you used last will be automatically retrieved.
Rules of Operation under “Project – Configuration”
Rule of Operation
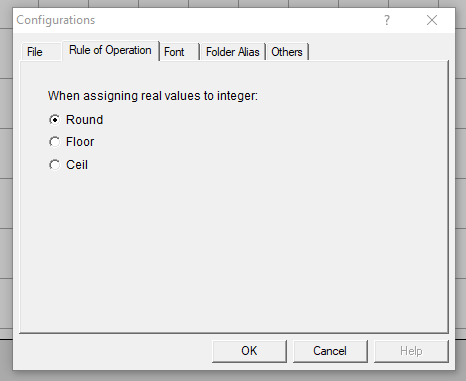
When assigning real values to integer:
By default, if you assign a “real number” or a “double” in DittoBitto to an integer, the value after the decimal point is usually rounded. In this case, the user can choose how to handle how the rounding of the decimal point.
- Round: Round to the nearest whole number or specified number of digits.
- Floor: Returns number rounded down, towards zero, to the nearest multiple of significance.
- Cell: Returns number rounded up, away from zero, to the nearest multiple of significance.
Font
Font
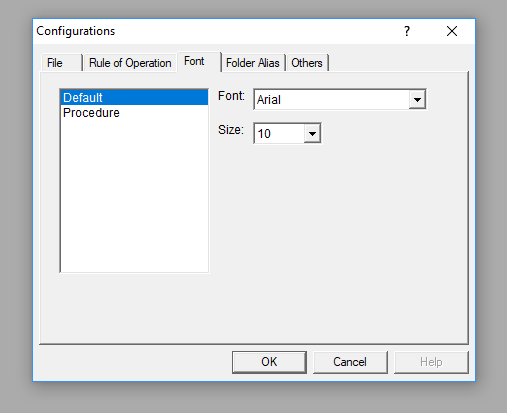
Set Default font or [Procedure (Advanced)]
Select the default font to use for Tables, Forms, sub-forms, and so on.
Procedure / Conditional: Sometimes fonts are garbled when writing procedures or conditionals. In this case, you may want to define a default font to use for the procedure or conditional statement.
- Select the area (base or procedure / conditional statement) in which you want to define the font,
- Select the desired font and size.
- Click the ‘OK’ button.
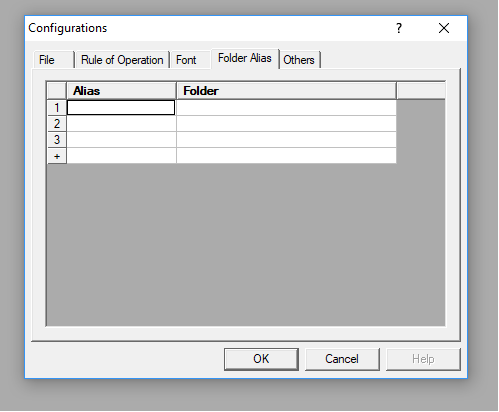
Folder Alias: Since the Folder Alias function is used in the project, please refer to the ‘Project’ section.
Folder Alias
Prefix for an outside phone line, would need modem.
Others
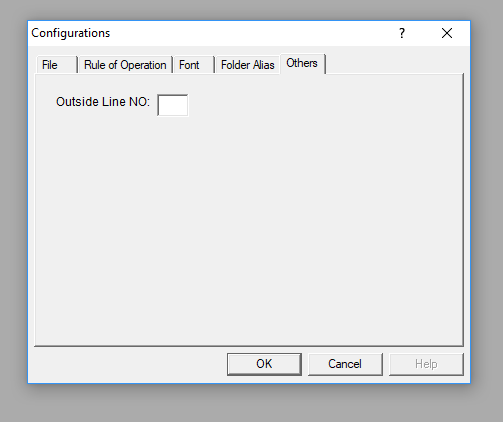
Specify when using the internal trunk number when performing the dialing function.
For example, if you press 9 to dial out, enter 9 in the CO line number field.